
Last updated September 10, 2026
Full 25-point door and opener safety check with every visit - springs, cables, rollers, tracks, and your LiftMaster or Chamberlain opener included
You get a price before we start. It does not change when the truck arrives.

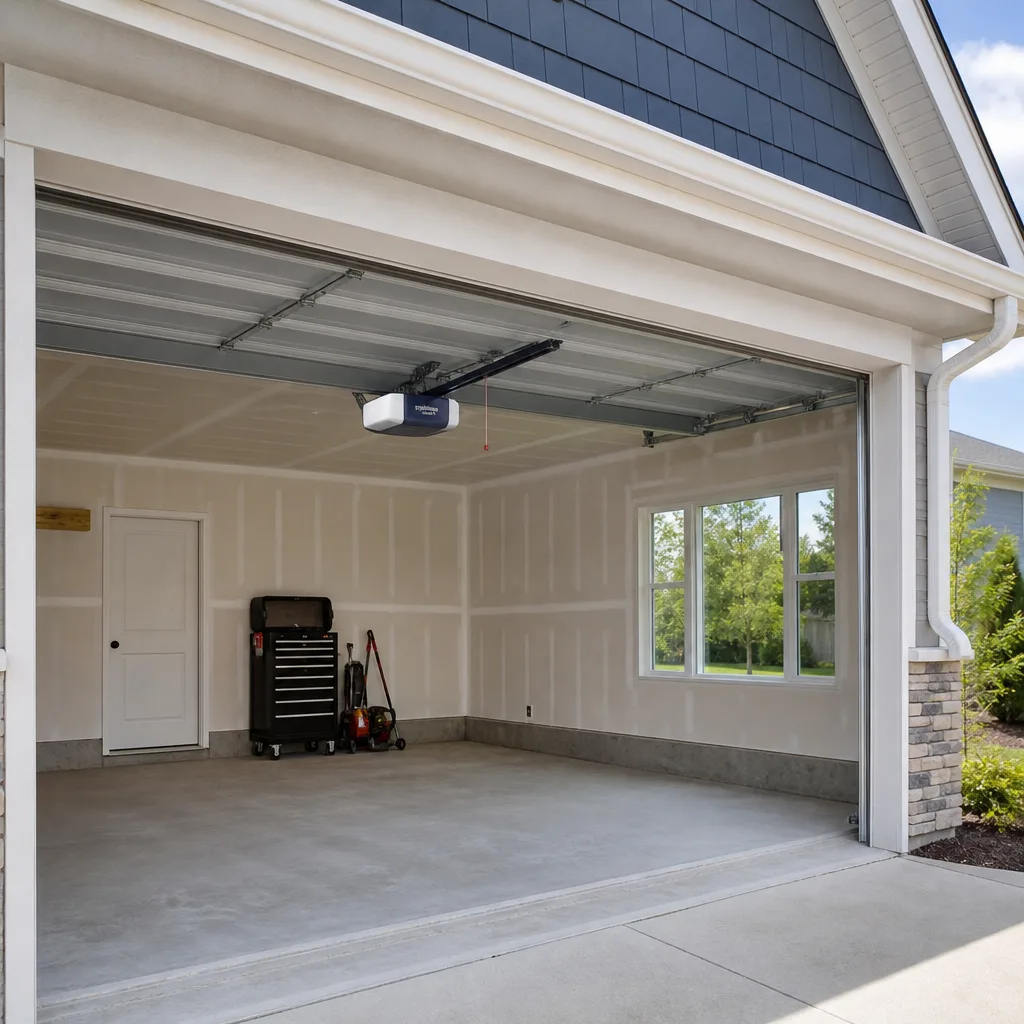
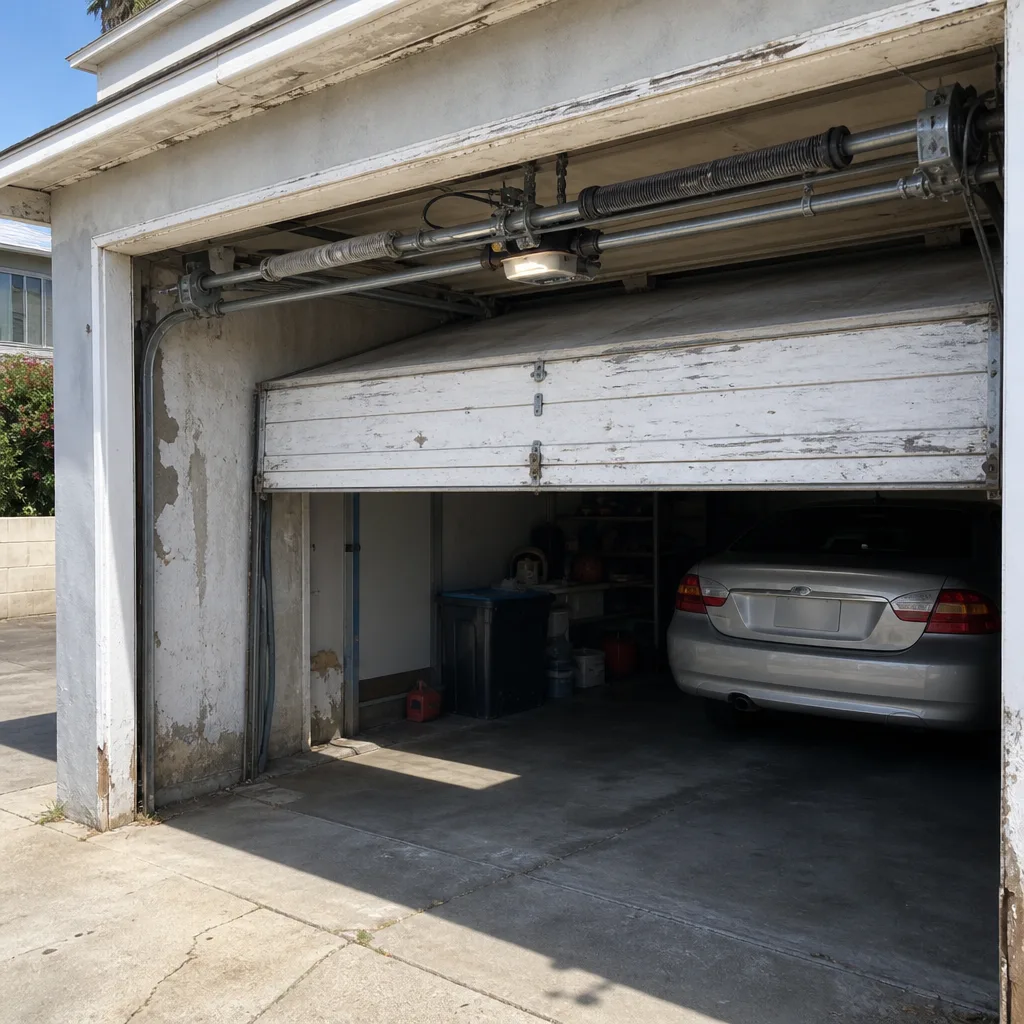 Before
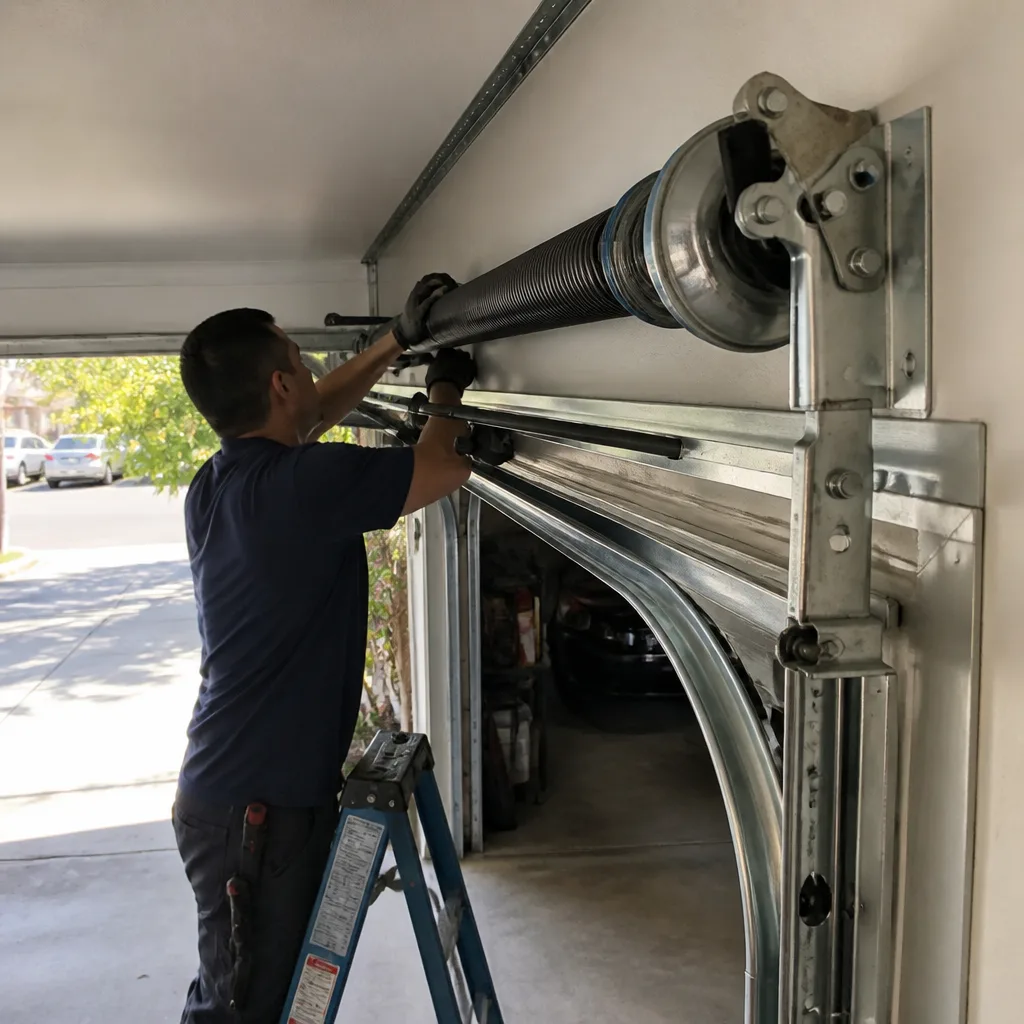 After
After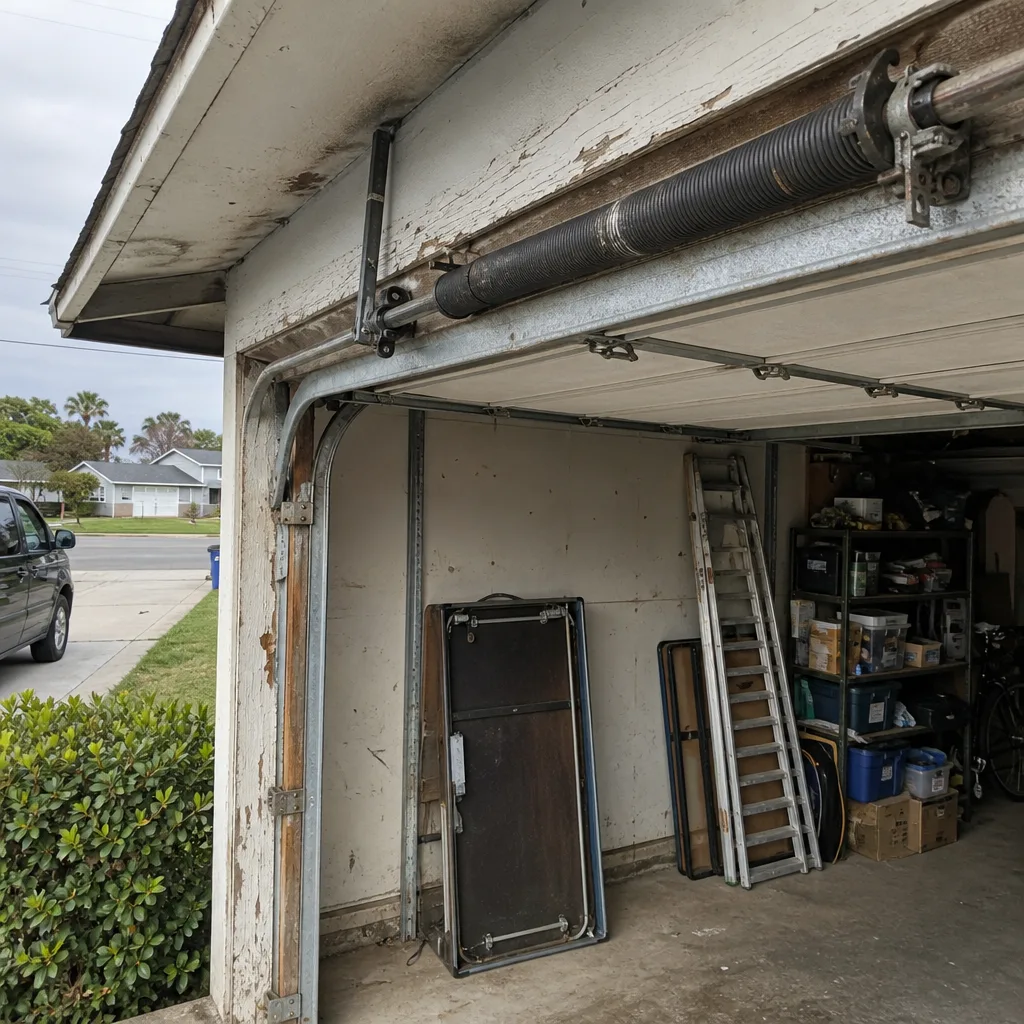 Before
 After
After Before
 After
AfterDIY vs Professional Garage Door: The Long Beach Homeowner’s Decision Guide
Here’s a number most homeowners don’t think about until it’s too late: a standard torsion spring on a two-car garage door is wound under roughly 150 to 250 pounds of torque. When it lets go at the wrong moment, that energy releases into whatever’s in its path. Your hand, your wrist, your face. Otto has watched this play out twice in twenty-plus years of working doors across Long Beach, and neither homeowner was doing anything reckless. They were doing what YouTube told them to do. But here’s the part no one tells you: most garage door work is genuinely safe for a careful homeowner. Lubricating rollers, swapping a bottom seal, reprogramming an opener after a power blink. None of that requires a pro. This guide splits the difference honestly, because the industry makes money by scaring you away from easy jobs and underselling the ones that actually send people to urgent care.
Quick Answer
Most garage door maintenance and minor repairs are safe for a Long Beach homeowner with basic tools, but three specific jobs should never be attempted without professional equipment: torsion spring replacement, cable replacement under tension, and track realignment on a door over 200 pounds. These are not skill problems. They are stored-energy and weight problems. Everything else - lubrication, weatherstripping, sensor alignment, remote programming, safety tests - you can handle yourself and probably should.
Table of Contents
- The Hard Stop List: Three Jobs Where DIY Is Genuinely Dangerous
- The Safe DIY List: Eight Tasks Any Homeowner Can Handle
- The Partial-DIY Approach: Diagnose It Yourself, Then Call Smart
- Long Beach Specifics: Salt Air, Lubricant Choice, and Why WD-40 Is Wrong
- Three Signs Mid-Repair That Mean Stop and Call
- What DIY Actually Saves You in Long Beach: Real Numbers
- Common Mistakes to Avoid
- When to Call a Professional
- Frequently Asked Questions
- The Bottom Line
The Hard Stop List: Three Jobs Where DIY Is Genuinely Dangerous
Let’s be clear about why these three tasks are different from everything else on your garage door. It’s not that they’re complicated. It’s that each one involves either stored mechanical energy or a load heavy enough that one wrong move means broken bones. Skill doesn’t save you. Timing and proper tools do.
1. Torsion Spring Replacement
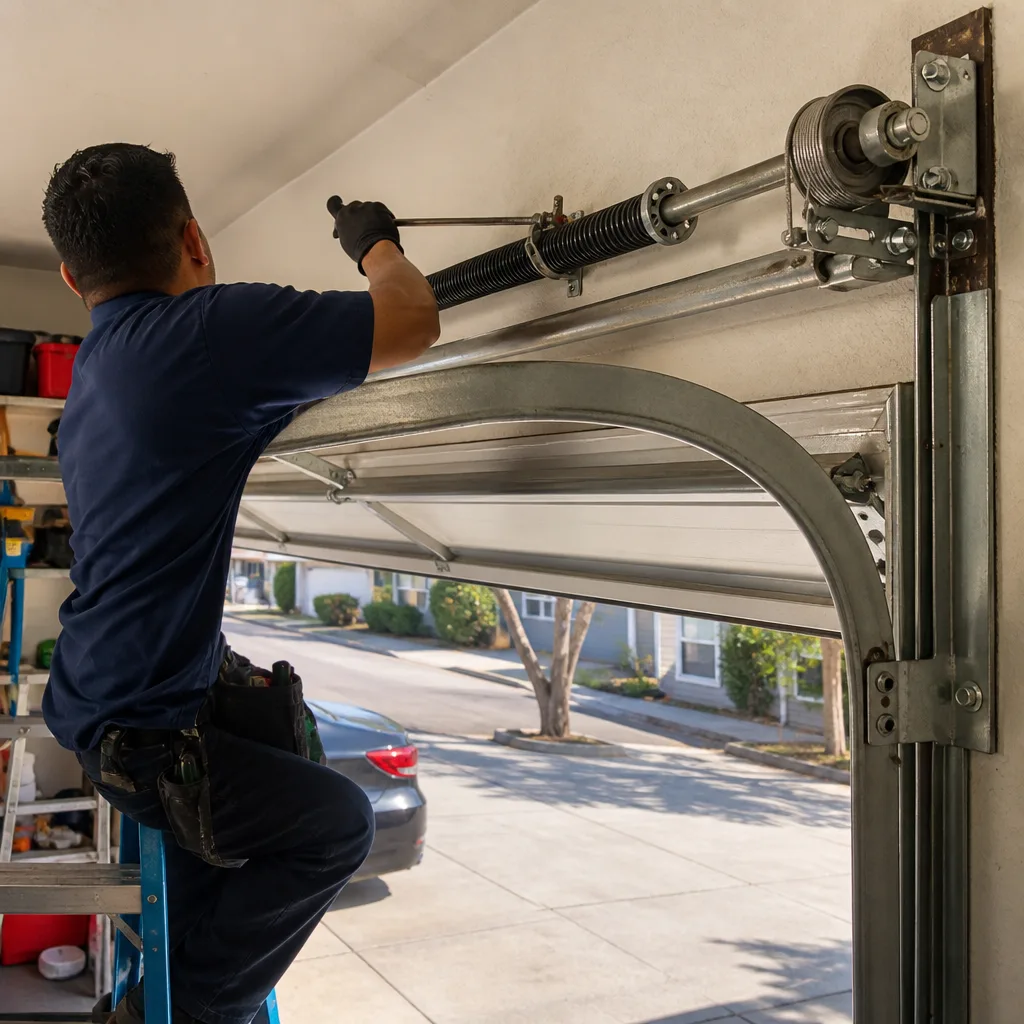
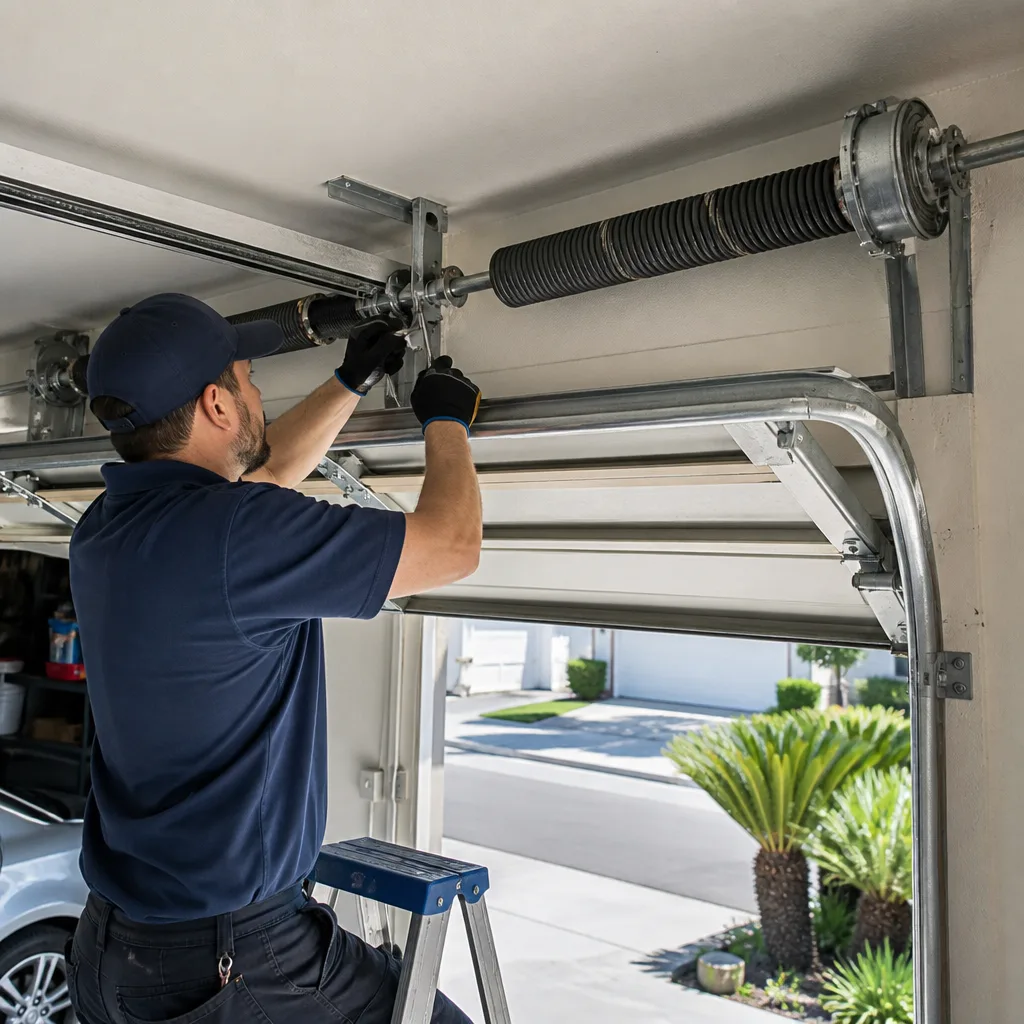
A torsion spring sits above the door, wound tight, holding the counterbalance that makes a 200-pound door feel like it weighs ten. When that spring breaks and needs replacing, it has to be unwound first. The winding bars used for this job are half-inch steel rods that fit into a cone with quarter-inch sockets. One slip, the bar kicks out, and the spring unwinds in a fraction of a second. In our experience across Long Beach, this is the injury we hear about most. Broken wrists, fractured forearms, lacerations. The spring doesn’t care that you watched a tutorial. We carry purpose-built winding bars and years of muscle memory for the feel of the spring loading up. A homeowner improvising with screwdrivers is gambling.
2. Cable Replacement Under Tension
The lift cables run along both sides of the door and connect to the bottom brackets. They look passive. They are not. When the door is open, those cables are under full spring tension, even if the spring is doing the heavy lifting. Cutting or unbolting a cable while the door is raised releases that tension instantly, and the cable whips. We’ve seen garage ceiling drywall torn open by a cable snap. On the wrong side of it, that’s a deep laceration or worse. The rule is simple: if the cable is frayed or snapped, the door needs to be fully secured and the spring tension released before any work starts. That’s not a homeowner job. That’s a call to someone who’s done it a thousand times.
3. Track Realignment on a Door Over 200 Pounds
Tracks guide the rollers, and when a track is bent or out of alignment, the door fights it. The problem with realigning a track is that it typically means loosening bolts while the door is still in the track. A door that heavy has opinions about where it wants to go, and if it comes off the track while you’re underneath it, the result is a 200-to-400-pound panel falling from ceiling height. We’ve repaired doors in neighborhoods all over Long Beach where homeowners tried to muscle a misaligned track back into place with the door half-open. It never ends well. Even a slight misalignment changes the door’s center of gravity. Let a professional with proper bracing handle it.
If you’re facing any of these three, skip the rest of this guide and call Otto’s Garage Door Repair in Long Beach at (562) 373-6685. Seriously. The quote is free, and the price doesn’t change once we see it in person.
The Safe DIY List: Eight Tasks Any Homeowner Can Handle
Now for the part the industry doesn’t want you to read. There is plenty of garage door work that is genuinely safe, satisfying, and well within reach of a homeowner who can turn a wrench and follow a checklist. These eight tasks take basic tools, a free Saturday morning, and a willingness to pay attention.
1. Lubrication
This is the single highest-value maintenance task on any garage door, and it takes fifteen minutes. Use white lithium grease on the hinges and rollers, and a silicone spray on the torsion spring itself. Avoid WD-40 here - it’s a solvent and degreaser, not a lubricant, and it will strip what little protection the moving parts have. More on that in the salt air section below. A properly lubricated door is quieter, smoother, and puts less strain on the opener motor. Do this quarterly and you’ll add years to the hardware.
2. Bottom Seal Replacement
The rubber strip along the bottom of the door rots, cracks, and pulls away over time. In Long Beach, salt air accelerates it. Replacing it means pulling out the old seal from the retainer channel and sliding in a new one. No tension, no weight-bearing parts, no danger. A new seal costs twenty to forty dollars at any hardware store, and the job takes under an hour. If water or leaves are getting under your door, this is almost always the fix.
3. Weatherstripping Around the Frame
Same logic as the bottom seal. The vinyl strips on the sides and top of the door frame go brittle and crack. You can replace them with peel-and-stick or nail-on weatherstripping from a local Long Beach hardware store. It improves the seal against drafts, dust, and the occasional marine layer moisture that loves to rust door hardware.
4. Sensor Alignment
Those two little photo eyes near the bottom of the track get bumped by bikes, tools, and trash cans. When they’re misaligned, the door won’t close, or it reverses for no reason. The fix is usually simple: loosen the wing nut, adjust the sensor until the indicator light comes on solid, and tighten. No tools beyond a screwdriver. If the light stays off, check for a break in the wire, which is also a homeowner-safe repair with basic electrical knowledge.
5. Remote Reprogramming
New remote? Power surge wiped the codes? Reprogramming a garage door opener remote is a button-and-hold procedure that takes two minutes. The opener’s manual has the steps, and most brands (LiftMaster, Chamberlain, Genie, Craftsman, Raynor) follow the same pattern: press the learn button on the motor, then press the remote button until the light blinks. If you’ve lost the manual, the model number is printed on the motor housing and the instructions are online. This is about as dangerous as pairing a Bluetooth speaker.
6. Manual Release Operation
Know where the red emergency release cord is, and know how it works. When the power is out (or the opener dies), pulling that cord disengages the door from the opener carriage so you can lift the door by hand. Every homeowner should test this once a year to confirm the door still balances manually and you can get your car out during a blackout. If the door doesn’t lift smoothly by hand after pulling the release, the springs are the problem, not the opener. That’s a diagnostic clue worth knowing.
7. Safety Reversal Test
The auto-reverse mechanism is the difference between a door that stops and a door that crushes. Test it monthly. Place a roll of paper towels or a 2×4 flat on the floor in the door’s path, and close the door. It should hit the object and reverse within two seconds. If it doesn’t, the force setting needs adjustment (a DIY-friendly knob or screw on most openers) or the sensors are misaligned. This test has saved lives. Do it.
8. Visual Hardware Inspection
Once a season, take ten minutes to look at the door with fresh eyes. Check the hinges for cracks, the rollers for flat spots or wobble, the cables for frayed strands, the track bolts for tightness, and the spring for rust. You’re not fixing anything. You’re building a baseline so you notice changes early. A crack in a hinge plate is a ten-dollar part if caught early. Left alone, it becomes a roller that pops out of the track at the worst possible moment.
The Partial-DIY Approach: Diagnose It Yourself, Then Call Smart
Here’s where you save real money. You don’t need to fix the door yourself to avoid getting upsold. You need to walk into the conversation knowing what’s wrong. Contractors of every stripe, everywhere, quote differently for a customer who says “I think there’s something wrong” versus a customer who says “The door is reversing two feet before it hits the floor, and the left sensor light is blinking.” The second customer sounds like someone who can’t be charged for a new opener when the problem is a bent sensor bracket.
Here’s how to diagnose like a homeowner, not a victim:
Step-by-Step Diagnostic Walkthrough
- Watch the door’s behavior. Does it open but not close? Close but not open? Reverse halfway? Grind? Shake? Each symptom points to a different system: springs, opener, tracks, or sensors.
- Disengage the opener with the red release cord. Try lifting the door by hand. If it’s heavy or won’t stay up, the springs are shot or unbalanced. That’s a spring problem, not an opener problem.
- Listen. A grinding sound is usually rollers or hinges. A straining sound from the motor is the opener working too hard, which typically means the door is out of balance and the springs need adjustment, not that the opener needs replacing.
- Check the sensor lights. One blinking light means misalignment. Both blinking means a wiring break. Neither lit means no power to the sensors.
- Inspect the hardware you can see. Rollers, hinges, brackets, bolts. Anything cracked, rusted through, or bent is a lead.
When you call us after running through this, the conversation takes two minutes instead of ten, and you already know whether you need a spring, a sensor, or an opener. That’s how you protect yourself from the quote you didn’t ask for. It’s also why we encourage it. If you call for a free estimate after doing your own diagnostic work, you’re going to get a more accurate number, faster. And if you want a second opinion on a written quote from anyone else, that’s free too. No trip charge inside the county.
Long Beach Specifics: Salt Air, Lubricant Choice, and Why WD-40 Is Wrong
Living in Long Beach means living with salt. The marine layer rolls in most mornings, and the air carries a fine saline mist that settles on metal. Your garage door hardware rusts faster here than it would in Riverside or San Bernardino. Rollers seize, springs corrode, and hinges get stiff. This isn’t a cosmetic issue. A corroded spring has a shorter cycle life, and a seized roller puts extra strain on everything else.
The single best thing you can do to fight salt air is lubricate correctly and often. Quarterly is the minimum for coastal homes. The catch is that most people grab the wrong product. WD-40 is a water-displacing solvent, not a lubricant. It’s great for unsticking a rusty bolt. It’s terrible at keeping a torsion spring working smoothly, because it evaporates and leaves the metal exposed. What you want is white lithium grease for hinges and rollers, and silicone spray for the spring and cables. Both create a lasting barrier that stands up to salt air.
Beyond lubrication, salt air means you should be checking for rust on the torsion spring and cables every time you do a visual inspection. Surface rust is manageable with a wire brush and some attention. Deep pitting or flaking means the spring is nearing the end of its life, and a broken spring in Long Beach is a door that won’t open at the exact moment you’re late for work.
We also see more bottom seal rot here than inland cities, thanks to the combination of UV and salt. If your seal looks like a dried-out sponge, it’s time. And if your door is an older steel door within a few blocks of the beach, the salt air has been working on it for years, maybe decades. That’s worth knowing before you decide between repairing and replacing. A full garage door installation in Long Beach might actually be the smarter long-term call if corrosion has compromised the door panels themselves.
Three Signs Mid-Repair That Mean Stop and Call
So you started a DIY task, and now something feels off. That’s fine. No shame in stopping. The door doesn’t care about your weekend plans, and neither does the emergency room. Here are three specific moments when you should put the tools down and make a phone call.
1. You Feel Resistance That Doesn’t Belong
If you’re tinkering with a hinge, a roller, a bracket, or anything attached to the door, and something resists in a way that feels like it’s pushing back, that’s stored tension. Stop. The door system is designed to hold energy, and if you’ve accidentally started undoing the wrong bolt, that energy is looking for an exit. This is the most common moment we hear about in hindsight. “It was going fine, and then it felt like it was fighting me.” That feeling is the sign. Walk away.
2. The Door Shifts Unexpectedly
Any unexpected movement. A creak, a drop, a sudden settling. A garage door that moves when you didn’t ask it to move is telling you something about the balance or the spring. On a properly functioning door, nothing moves unless you move it. If the door drops an inch while you’re underneath it, that’s not the door “settling.” That’s the spring losing tension. Get out from under it and call someone.
3. You’re About to Improvise a Specialized Tool
This is the big one. If you find yourself thinking “I can probably use a screwdriver for this” or “maybe a couple of vise grips will hold it,” you’ve crossed the line. The right tool for torsion spring work is a pair of specially sized winding bars. The right tool for cable work is the right cable, not a piece of hardware-store wire rope. Improvised tools on tensioned components are how the injuries happen. When you catch yourself improvising, that’s not creativity. That’s the signal to call (562) 373-6685 and get the garage door professional in Long Beach who already owns the right tools.
What DIY Actually Saves You in Long Beach: Real Numbers
Let’s talk dollars, because that’s what the DIY question always comes down to. Here’s the honest math for the Long Beach market, based on what we see and what the hardware stores are charging - see our full Garage Door Cost Breakdown: The Long Beach Homeowner’s Reference for 2026 for detailed pricing.
- Bottom seal replacement: $20-$40 for materials, about an hour of your time. Professional cost: $90-$140. DIY savings: $50-$100. Worth doing yourself.
- Lubrication: $10-$15 for a can of white lithium and a can of silicone. Professional service call: $60-$90. DIY savings: $50-$75. No reason to pay for this.
- Sensor alignment: $0 if you just adjust them, $15-$30 if you need a replacement sensor. Professional cost: $80-$150 for a service call. DIY savings: $50-$120. Try it yourself first.
- Remote programming: $0-$40 for a new universal remote. Professional cost: $50-$100. DIY savings: $50-$100. The manual is your friend.
- Spring replacement: $80-$150 for the springs if you buy them yourself, but you shouldn’t. Professional cost including parts and labor: $250-$450 for a typical single-door spring replacement in Long Beach. DIY savings: $150-$300, minus the risk of a broken arm. Not worth it. We’ll say it plainly: the tools, the knowledge, and the hospital copay all eat that savings.
- Cable replacement: $30-$60 for cables as a DIY attempt. Professional cost: $180-$300. DIY savings: $150-$240, minus the risk of a cable whip. Also not worth it.
The pattern here is consistent. The safe jobs save you fifty to a hundred dollars. The dangerous jobs theoretically save you a couple hundred, but that math assumes nothing goes wrong. And when something goes wrong on a tensioned component, the cost is measured in fingers and wrists, not dollars. We’ve been doing garage door work in Long Beach since 2004, and in all those years, we’ve never met a homeowner who said “I’m glad I saved two hundred dollars on that spring.” We have met several who said the opposite.
Common Mistakes to Avoid
- Using WD-40 as a lubricant. It’s a solvent and degreaser, not a lubricant. It strips protection from moving parts and leaves them vulnerable to Long Beach salt air. Use white lithium grease and silicone spray instead.
- Tightening loose bolts while the door is under tension. A bolt that’s loose because the door has shifted is a symptom, not the problem. Tightening it under load can release the tension elsewhere. Diagnose first, tighten second.
- Ignoring a door that’s getting louder. Noise is data. A grinding sound is a roller or hinge dying. A metallic bang is often a broken spring. Every month you ignore it, the repair gets more expensive.
- Replacing the opener when the springs are the problem. If the door is heavy when you lift it manually, a new opener won’t fix that. It’ll just burn out the new opener the same way it burned out the old one. We see this all over Long Beach.
- Failing the safety reversal test and doing nothing. If your door doesn’t reverse when it hits an object, you have an unsafe door. This isn’t a cosmetic issue. It’s a hazard that can injure a person or a pet. Fix the force setting or the sensors today.
- Buying the cheapest replacement parts online. A ten-dollar set of rollers from a no-name seller is often plastic where it should be steel. In salt air, cheap hardware fails faster. Buy quality parts or let someone who stocks them handle it.
- Painting over rust without addressing the cause. Surface rust on the door panel can be spot-treated. But if the rust is coming from behind the paint or around the hardware, you’re buying time, not fixing anything. At some point, replacement is the honest answer.
When to Call a Professional
Call a professional when the job involves tension, weight, or anything you’re about to improvise a tool for. Broken torsion spring. Frayed or snapped cable. Track that’s pulled away from the wall or visibly bent. Door that’s come off its tracks entirely. A door over 200 pounds that’s sagging and heavy to lift by hand. These are the moments where the right call is the one that costs you a service fee instead of a hospital bill. We’ve been serving Long Beach homeowners since 2004, and Otto himself answers the phone at (562) 373-6685. The quote is free, the price doesn’t change once we see the door in person, and every job carries a 90-day written guarantee. If it’s not done right, one call brings Otto back. That’s the whole deal.
Frequently Asked Questions
Spring replacement in Long Beach typically runs $250 to $450 for parts and labor on a standard single-door setup. The spring itself costs $80 to $150 retail, but the labor involves safely unwinding the old spring under tension, which requires specialized winding bars and experience. DIY attempts on torsion springs are the single most dangerous thing a homeowner can do to a garage door, and the savings rarely justify the risk. Call (562) 373-6685 for an exact quote - the estimate is free, and the price is fixed before any work starts.
No, replacing a garage door cable under spring tension is one of the three jobs where DIY is genuinely dangerous regardless of skill level. The cables run alongside the door and carry full spring tension when the door is open. Cutting or unbolting one incorrectly releases that tension instantly, and the cable whips with enough force to cause serious injury. This is a job for a professional with the right tools and the muscle memory. We carry replacement cables for all major brands and can quote the job over the phone.
Yes, lubrication is the most valuable DIY maintenance task on any garage door, and it’s completely safe. For Long Beach homes, use white lithium grease on hinges and rollers, and silicone spray on the torsion spring and cables. Apply quarterly to counter the salt air from the marine layer. Avoid WD-40 entirely - it’s a solvent that strips lubrication, not a lubricant. Fifteen minutes of work every three months will extend the life of your hardware significantly.
A garage door that reverses before it closes is usually a sensor problem, not a door problem. The photo eyes near the bottom of the track may be misaligned, dirty, or have a wiring issue. Start by cleaning the sensor lenses with a dry cloth and checking that the small indicator lights are solid, not blinking. If one blinks, loosen the wing nut and adjust the sensor until the light goes solid. If the problem persists, the issue could be the force setting or the opener’s logic board, which is when a professional diagnosis helps. Call us and describe what you’re seeing - we’ll help you figure out whether it’s a DIY fix or a service call.
Watch for three signs: the door gets heavier when you lift it manually, the door stops opening all the way or opens unevenly, and you see visible rust or gaps in the spring coil. Springs have a rated cycle life, usually 10,000 cycles or so, and the salt air in Long Beach can shorten that by accelerating corrosion. If you’re seeing these signs, don’t wait for the spring to break - a broken spring can leave your car trapped in the garage. We’ll inspect your springs, count the cycles like you’d count tire miles, and tell you honestly what’s left on them.
No. The price Otto quotes on the phone is the price on the invoice. That’s the whole point of calling a shop where the owner answers the phone. If the quote is $300, you pay $300 unless you add work to the job, and even then we’ll agree on the new number before anything changes. It’s not a bait-and-switch operation. Otto has been quoting jobs over the phone since 2004, and he holds the number because his name is on the van, the license, and the invoice. Call (562) 373-6685 and you’ll get a straight answer from a human being.
The Bottom Line
The DIY question is not about pride or skill. It’s about stored energy. Three jobs deserve a professional every single time: torsion springs, tensioned cables, and track realignment on a heavy door. Everything else - lubrication, seals, weatherstripping, sensors, remotes, safety tests - is yours to handle, and doing so will save you real money and make you a smarter customer when you do call. Long Beach homeowners deal with salt air that demands better lubrication habits, and a little quarterly attention goes further here than it would inland. Know the difference, act accordingly, and when the job is bigger than a trip to the hardware store, check our Garage Door Permits, Codes & Inspections in CA: What You Need to Know and call a local shop with a published address, a real license number, and a written guarantee. That’s how it should work.
Written by Otto Reinhardt, Owner at Otto’s Garage Door, serving Long Beach since 2004. Explore more guides & resources on our blog.