
Last updated September 10, 2026
Full 25-point door and opener safety check with every visit - springs, cables, rollers, tracks, and your LiftMaster or Chamberlain opener included
You get a price before we start. It does not change when the truck arrives.
 Before
 After
After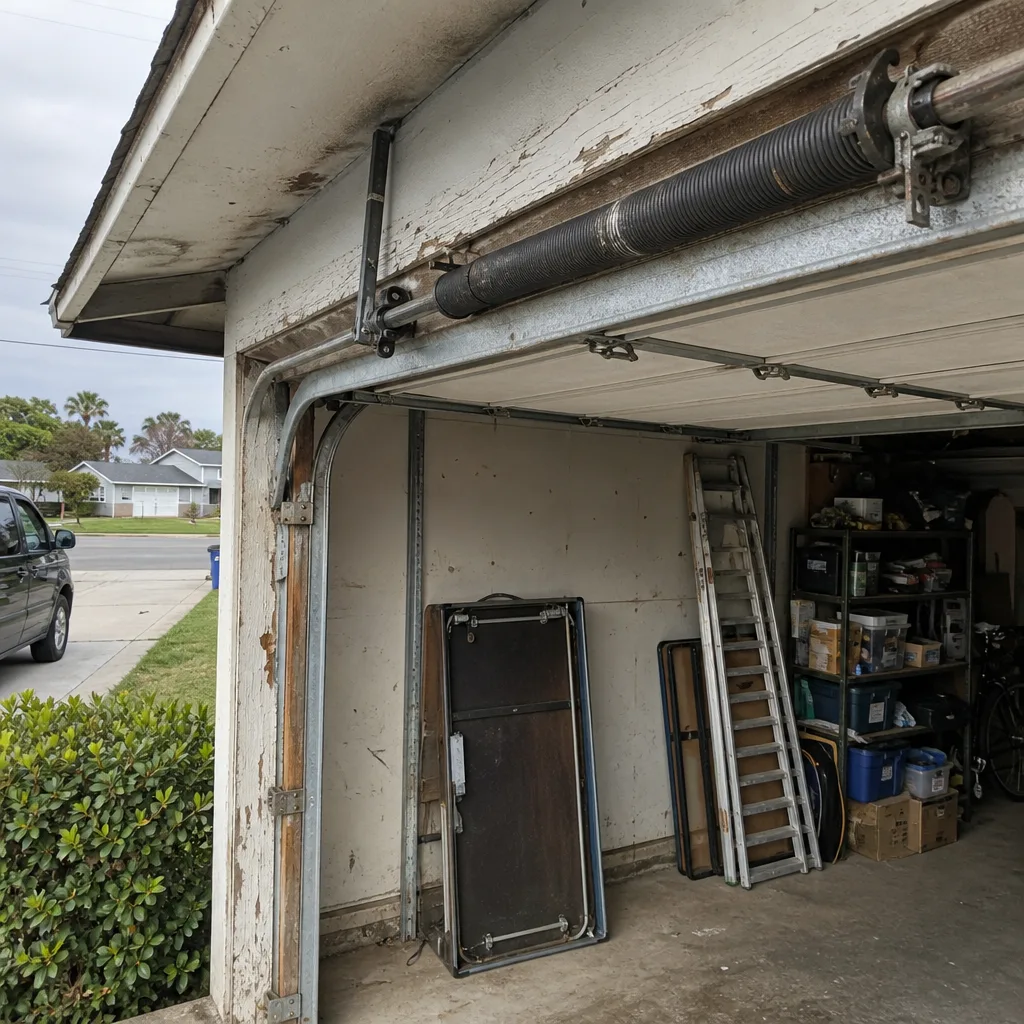 Before
 After
After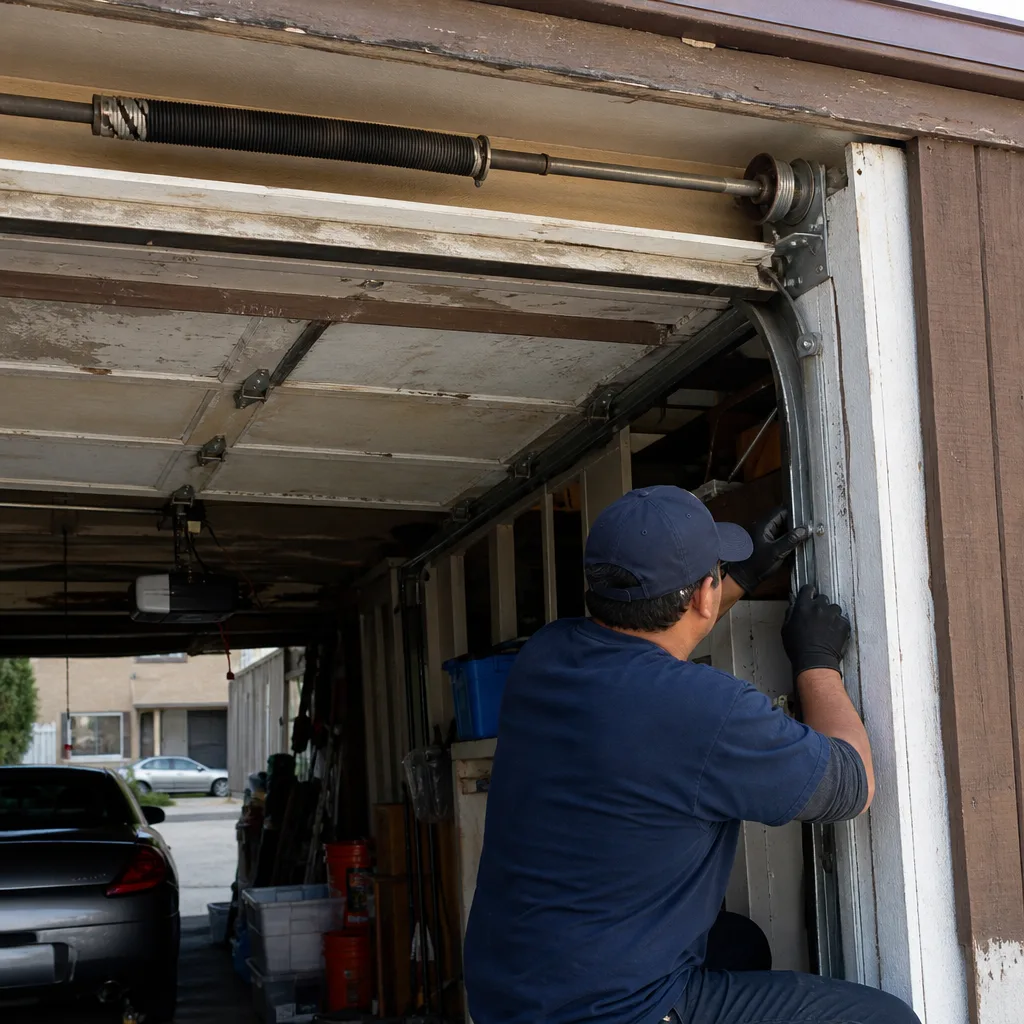 Before
 After
AfterGarage Door Repair Maintenance Checklist for Long Beach Homeowners
If you’re following the same garage door maintenance calendar your brother-in-law uses in Denver, you’re lubricating six months late and skipping the one inspection that matters most after June gloom burns off. Here’s the thing about Long Beach: our salt air does to door hardware what it does to a beach cruiser left on the porch. It works on it, every single day, even when the weather feels perfect. And because we don’t get a dramatic season change, most homeowners here forget that fall maintenance is still a thing. This guide fixes that. You’ll get a month-by-month task list built around the calendar Long Beach actually lives by, told by the owner of Otto’s Garage Door, a local shop that’s been fixing doors here since 2004.
Quick Answer
A garage door maintenance checklist for Long Beach homeowners should run spring and fall, with coastal-specific lubrication every three to four months and a visual inspection after every Santa Ana wind event. The single most important task is the manual lift test: a balanced door stays put when you lift it halfway, moving no more than 3 to 4 inches on its own. Skip the schedule and you’re buying a spring replacement years early, usually at the worst possible moment.
Table of Contents
- Why Long Beach Weather Changes the Standard Checklist
- The Month-by-Month Task List Built for Long Beach
- Lubrication: Coastal vs. Inland Intervals That Actually Work
- The Torsion Spring Test Any Homeowner Can Do Safely
- Why Your Bottom Seal Fails Faster Here (And How to Catch It)
- What Healthy Hardware Looks Like: A Photo-Reference Checklist
- Common Mistakes to Avoid
- When to Call a Professional
- Frequently Asked Questions
Why Long Beach Weather Changes the Standard Checklist
A national garage door checklist tells you to lubricate twice a year. Follow that in Naples, Belmont Shore, or anywhere within a mile of the water and you’re running dry metal for months. Salt air accelerates oxidation. We see rollers seize and hinges squeal on doors that were serviced less than a year earlier. The culprit is almost always the same: the owner followed a generic schedule instead of a Long Beach one.
Then there’s the wind. Santa Ana season sends dry, gritty air through Alamitos Heights and Los Altos, coating tracks and rollers with fine dust that acts like sandpaper on moving parts. A door that ran quiet in September can sound like a shopping cart with a bad wheel by Thanksgiving. The fix isn’t complicated, but it has to happen at the right time. And June gloom creates its own problem: weeks of overcast, high-humidity mornings that encourage surface rust on exposed springs and hardware, especially on west-facing doors that catch the marine layer longest.
We build our maintenance calendar around these three events: June gloom humidity, Santa Ana dust season, and the mild winter that lets deferred maintenance go unnoticed until something snaps in February. You’ll see each reflected below.
The Month-by-Month Task List Built for Long Beach
You don’t need to live under your garage door. Twelve small tasks, spread across the year at the right moments, keep a door running for 15 to 20 years instead of 8 to 10. Here’s the schedule we give homeowners in Long Beach who want to stop calling us for Garage Door Repair for preventable issues.
January and February (mild winter, wet season)
- Test the auto-reverse safety feature. Place a roll of paper towels on the ground under the door opening and close the door. It should reverse within two seconds of contact.
- Run the manual lift test. More on the exact method in the spring section below, but do it now too. Cold snaps, even brief ones, change spring behavior.
- Check the bottom seal for gaps caused by winter rains settling the concrete. Shine a flashlight under the closed door from the driveway side at night; light coming through means water and rodents have a path in.
March and April (post-rain, pre-gloom)
- Inspect all rollers for cracking or wobble. Reachable lower rollers can be touched; if a roller face is chipped or squished flat on one side, it’s done.
- Lubricate hinges, rollers, and springs with a silicone or lithium-based garage door lubricant. Skip the WD-40, which is a solvent, not a long-term lubricant.
- Test the opener’s force setting by opening the door halfway and releasing the manual handle. It should hold position, not drift or slam.
May and June (June gloom season)
- Inspect exposed torsion springs for surface rust. Light orange dust is cosmetic; pitting and flaking means replacement is in your future and you should get a professional check.
- Check cable condition where it wraps around the drum at the top of the door. Fraying strands there mean the cable is carrying uneven tension.
- Run the opener a full cycle with the door in manual mode first to spot any sticking points before the motor has to work against them.
July and August (dry, hot, marine layer mornings)
- Watch the door opener’s behavior for one full open-close cycle. Hesitation at the start means the spring is losing tension, not that the opener is weak. The opener is compensating; it’s not the cause.
- Check for loose bolts on all track brackets and hinges. Heat expansion and contraction walk fasteners out over time, especially on south-facing doors.
- Apply a light coat of garage door grease to the top of the track where the chain or belt runs, if applicable.
September and October (Santa Ana prep)
- Clear any debris from the photoelectric sensor eyes at the bottom of the door track. Dust from the first Santa Ana events coats these lenses and causes phantom reversing.
- Re-check all bolts and brackets after the first significant Santa Ana wind event. High repeated vibration loosens hardware faster than most homeowners expect.
- Do the full visual inspection described below, focusing on cables and springs before the winter stress season arrives.
November and December (short days, holiday use)
- Lubricate all moving parts again before the cooler, drier months. Inland Long Beach addresses can stretch this interval slightly; coastal doors should not.
- Test the manual release handle operation. Pull it and confirm you can open the door by hand from inside the garage. This is your power-outage exit, and most people wait until the blackout to find out the handle binds.
- Schedule any deferred repairs now. You’ll be using the door more during the holidays, and you don’t want a spring failure on the day the whole family is parked in the driveway.
Lubrication: Coastal vs. Inland Intervals That Actually Work
The standard advice says lubricate twice a year. For a door within a mile of the water in Long Beach, that’s about two cycles too few. We service doors in Belmont Shore and Naples regularly, and the pattern is consistent: hardware near the coast oxidizes on a noticeably faster cycle than identical hardware in Lakewood or Bixby Knolls. Salt hangs in the air, settles on metal, and pulls moisture out of the atmosphere. The result is a layer of corrosion that grinds against every moving part.
Here are the intervals we recommend based on where your house sits:
- Within one mile of the coast: Lubricate every three to four months, year-round.
- Between one and three miles inland: Lubricate every four to five months, with one extra application after Santa Ana season ends.
- Three miles or more inland: The standard twice-yearly schedule works, but watch for dust accumulation during Santa Ana events anyway.
Use a dedicated garage door lubricant. We’re agnostic about brand, but we’re not agnostic about the formula. Silicone spray or white lithium grease are the two that hold up. The spray penetrates hinges and roller bearings better; the grease stays on springs longer. Both are sold at any hardware store in Long Beach. The one thing to avoid is any spray with “penetrating oil” on the label. It cleans, but it doesn’t stay behind, and you’ll be back to a squeaking door inside of a month.
While you’re lubricating, wipe down the track itself with a dry cloth. Tracks don’t need grease; they need to be clean. Greasy tracks collect Santa Ana dust and turn it into a paste that makes the door struggle. A clean, dry track with lubricated rollers is the combination that runs quiet and lasts.
The Torsion Spring Test Any Homeowner Can Do Safely
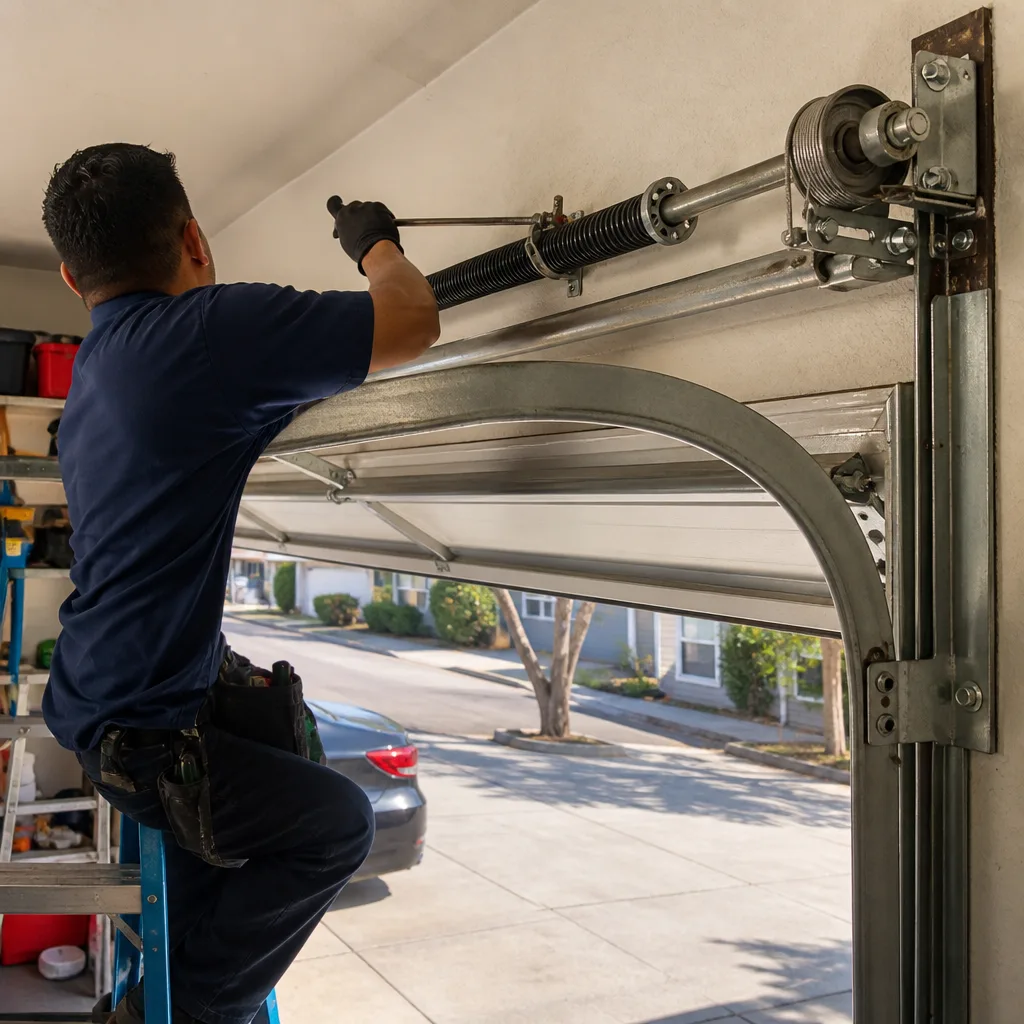
A garage door is 200 pounds riding on two springs. Respect it. The good news is that you can test your springs without ever touching them. This is the single most useful diagnostic a homeowner can learn, and it takes less than a minute.
- Pull the red manual release handle hanging from the opener rail. This disconnects the door from the motor.
- Lift the door by hand until it’s about waist high, roughly halfway open.
- Let go with both hands. Do not stand under the door while you do this. Stand to the side.
Now watch what happens:
- A healthy door stays put. It shouldn’t move more than 3 to 4 inches up or down from where you released it. This means the springs are carrying the door’s weight correctly.
- A door that drops fast means the springs are losing tension. The opener has been working harder than it should for months, and the motor and gears are paying the price. This is a spring replacement situation, not an opener problem.
- A door that rises on its own means the springs are over-tensioned, which is less common but just as hard on the system. The opener is fighting against the door’s upward pull every time it closes.
- Close the garage door completely and turn off the opener light.
- From inside the garage, crouch down and look along the line where the door meets the floor.
- Any sliver of daylight means the seal is not compressing evenly. That’s your gap.
- Skipping fall maintenance because it never feels like fall here. Long Beach’s mild transition from summer to winter means there’s no annual cue to service the door. Then the first heavy rain arrives and the bottom seal you ignored lets water pool across the garage floor.
- Using WD-40 on the rollers and springs. It cleans and initially quiets, then evaporates and leaves the metal drier than before. You’re training the door to squeak louder on a cycle.
- Greasing the track itself. Tracks should be clean and dry. Adding grease to a track collects dust, especially during Santa Ana season, and turns the track into a grinding channel.
- Assuming a struggling opener means the opener is failing. Nine times out of ten, the opener is overworking to compensate for weak springs. Replacing the opener without addressing the spring means the new opener inherits the same problem and dies young.
- Ignoring the first squeak. Sound is your earliest warning system. A squeak means metal-on-metal contact somewhere, and that contact is wearing a part down. The longer it goes, the more parts you’re replacing.
- Testing the auto-reverse feature with your hand or a box that’s too light. The mechanism is designed to detect a certain minimum resistance. Use a solid object, like a roll of paper towels or a piece of scrap wood, not your fingers. If the door doesn’t reverse, you have a safety problem that can’t wait.
- Leaving the manual release handle untested. During a power outage, that handle is your only way out. A handle that binds or a cable that has come off its guide means you’re stranded inside your own garage waiting for the power to return.
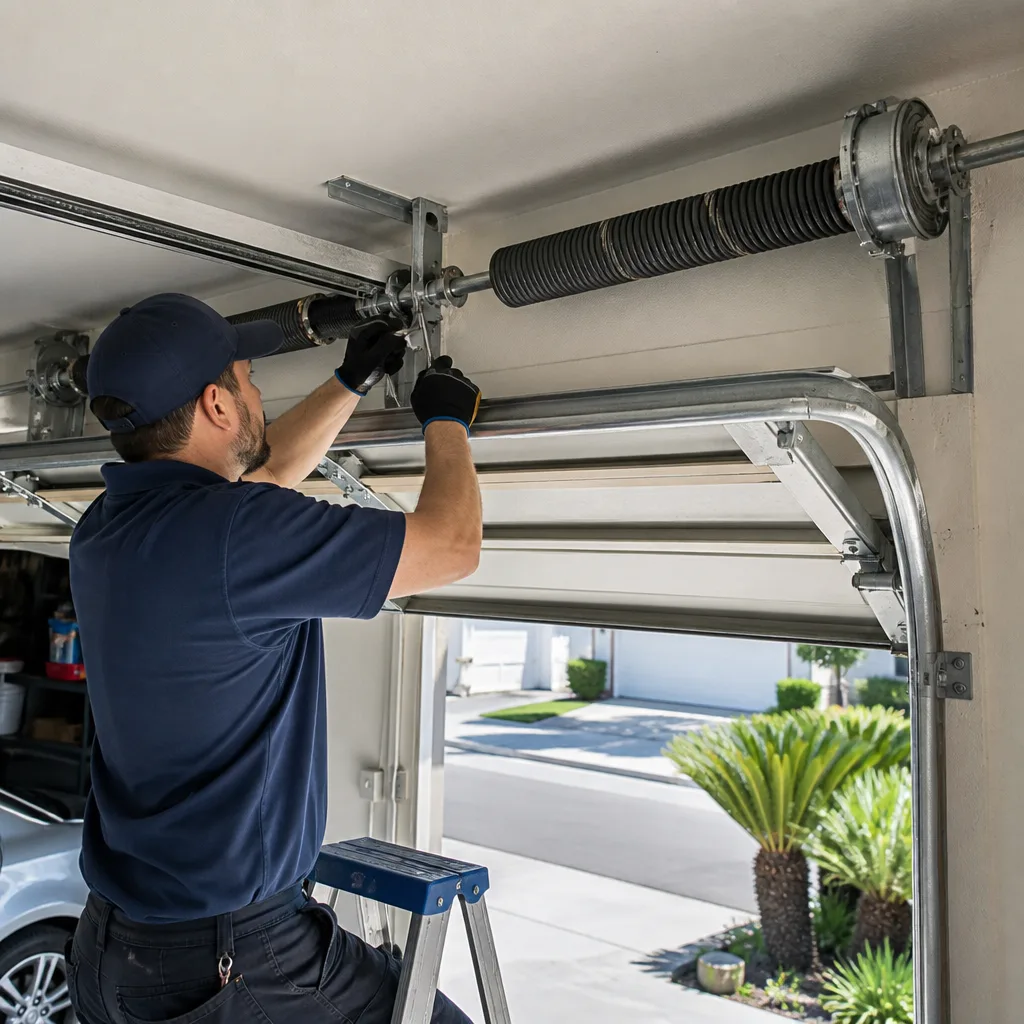
If your door fails this test, don’t try to adjust the spring yourself. Torsion springs store enough energy to throw a wrench through drywall or break a hand. That’s not hyperbole. We are saying this from experience: a spring under tension is a loaded weapon. Otto always quotes the job on the phone and holds that price at the door, so you’ll know what the repair costs before anyone touches anything.
Reconnect the door to the opener after the test by pressing the opener button or pulling the release handle again until it clicks. Run the door through one full cycle to confirm everything is seated correctly.
Why Your Bottom Seal Fails Faster Here (And How to Catch It)
Long Beach driveways have a problem your Denver brother-in-law doesn’t deal with: concrete that settles. Our soil shifts with the water table, and years of minor seismic activity crack and sink slabs in patterns you can see in any neighborhood from El Dorado Park to Los Altos. When the concrete under the door becomes uneven, the bottom seal doesn’t make full contact. The gap may be invisible from inside the garage, but water finds it during the winter rain, and rodents find it year-round.
Here’s the test we teach every Long Beach homeowner:
The seal itself is a rubber or vinyl strip that runs along the bottom of the door. It’s a replaceable wear item, and in Long Beach it ages faster than the rest of the door for two reasons. First, the aforementioned concrete movement puts uneven pressure on the rubber, wearing it thin in specific spots. Second, the bottom strip sits closest to the dampest air in the garage, and salt-tinged moisture degrades the material’s flexibility. A seal that’s gone stiff won’t compress against the floor anymore, even if the concrete is perfectly level.
Replacing a bottom seal is one of those jobs that looks simple and takes an experienced hand about 20 minutes. It requires pulling the old strip out of its channel, feeding the new one in, and sometimes cutting it to length. If the track channel is corroded, which happens on coastal doors, the job gets more involved. We keep bottom seals in stock for standard door widths and can quote the replacement over the phone. You’ll know the price before the truck leaves our shop.
One more Long Beach note: if you park a wet car in the garage after coastal fog or rain, the humidity inside the enclosed space climbs fast. That moisture settles on the seal and accelerates the stiffening. Running a dehumidifier in a garage that stores classic cars or workshop equipment has a side benefit for your door hardware too.
What Healthy Hardware Looks Like: A Photo-Reference Checklist
You don’t need a repair manual to spot trouble. You need to know what healthy hardware looks like, so the worn version is obvious when you see it. Here’s a plain-terms visual guide for each major component.
Rollers. Healthy rollers are round, with a smooth face and no visible cracks. The wheel should turn freely when you touch it, though some resistance from old lubrication is normal. Worn rollers show a flattened or chipped surface, visible wobble when the door moves, or a wheel that doesn’t turn at all and instead skids along the track. Nylon rollers wear less audibly than steel ones, which means you should look, not just listen.
Cables. Healthy cables are uniform in thickness, with no loose strands and no rust discoloration where they wrap around the drum. Worn cables show fraying near the drum, individual wire strands that have separated from the bundle, or a section that looks “unwound” compared to the rest. When a cable frays, it’s a countdown, not a gradual decline. The remaining strands carry the full load, and when one goes, the door can drop suddenly.
Weatherstripping. Healthy weatherstripping is flexible, the same thickness along its entire length, and compresses evenly against the frame when the door is closed. Worn weatherstripping is brittle, cracked, or flattened in spots. If you can bend it and it keeps its shape instead of springing back, it’s reached the end of its life. This matters most in Long Beach during winter rain, but it also affects your cooling bill in summer by letting conditioned air leak toward the driveway.
Track and brackets. Healthy tracks are straight, clean, and securely bolted to the wall at every bracket point. Worn tracks show visible bends, gaps between the track and brackets, or rust accumulating at the bolt holes. A bent track doesn’t fix itself; the door grinds against it with every cycle and eventually the rollers pop out under load.
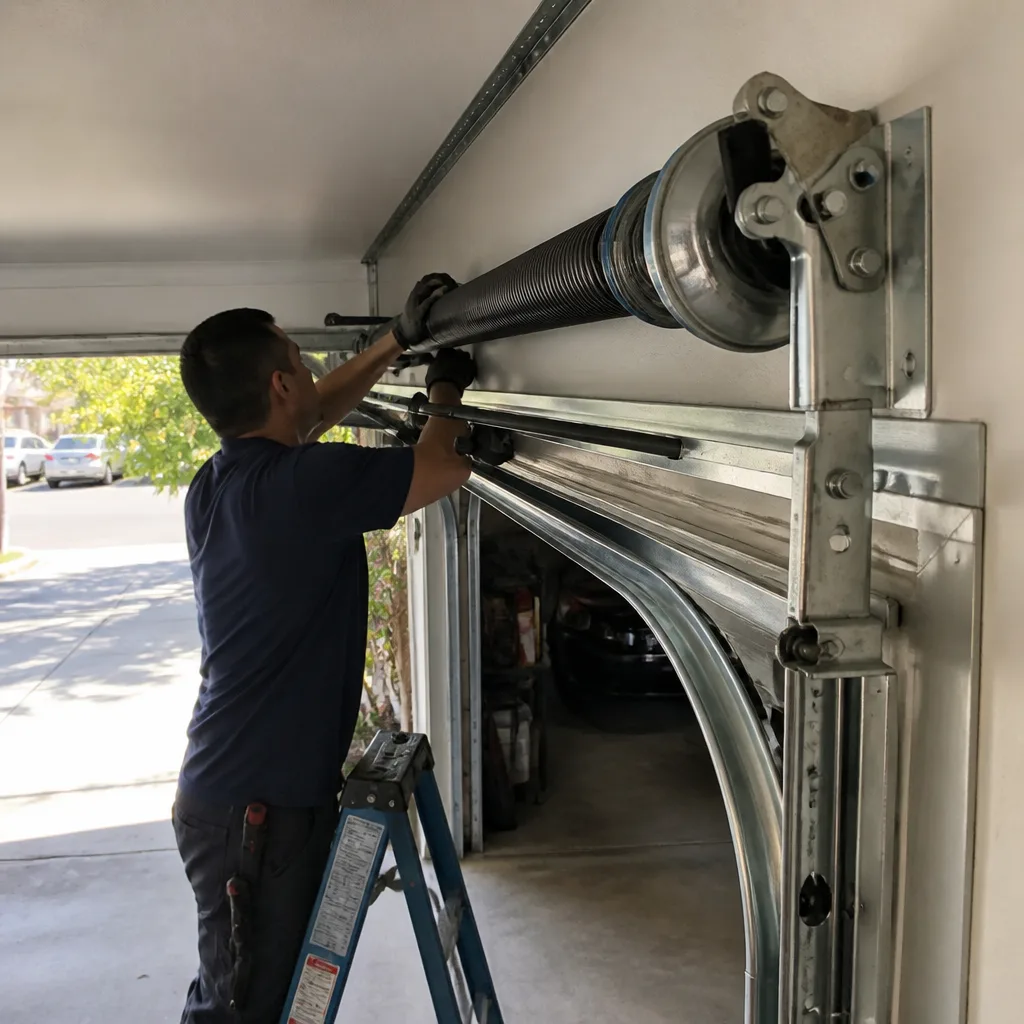
Springs (visual only). A healthy torsion spring is a single continuous coil from end to end, with no gaps between coils. A failing spring shows visible separation between coils, which means the metal has stretched and lost its memory. Surface rust is cosmetic; flaking or pitting is structural. If your spring has visible coil gaps, call before the failure. The cost of a proactive replacement is a fraction of an emergency call after the spring snaps and the door sits crooked, wedged in the tracks, or worse.
Common Mistakes to Avoid
When to Call a Professional
Some maintenance is a Saturday task. Some jobs will hurt you. The line matters, and we’re going to draw it clearly for you. If your door fails the manual lift test, meaning it drops or rises more than 3 to 4 inches when you let go at waist height, you have a spring problem. Do not touch the spring. Do not watch a YouTube video where someone rebuilds one with a wrench and a prayer. Torsion springs hold enough stored energy to break bones. That’s the job for someone who does this daily and has the correct winding bars, not a crescent wrench-see How to Hire a Garage Door Contractor in Long Beach: A Step-by-Step Guide for what to look for.
If you see frayed cables or visible gaps between spring coils, same rule. If your door has come off one side of the track, or the track itself is visibly bent, don’t try to muscle the door back into place. The door is under tension, and the moment it shifts, the tension releases somewhere unpredictable. If the opener is making a grinding sound from the gear housing at the top of the unit, that’s a stripped gear, not a lubrication issue. The unit needs repair or replacement, and the work involves both mechanical and electrical components.
Otto’s Garage Door offers free estimates in Long Beach. Call (562) 373-6685 and Otto himself will answer most of the time. He quotes the job on that call and holds that number when he gets to your driveway. No surprise line item, no new “recommended service” that doubles the bill after you’ve already said yes.
Frequently Asked Questions
Every three to four months if you’re within a mile of the coast, every four to five months between one and three miles inland, and twice a year if you’re further out. The salt air near the water accelerates oxidation and dries out lubrication faster. Call (562) 373-6685 if you want Otto to take a look and tell you what your specific setup needs.
A basic tune-up that includes lubrication, tightening, and a full safety inspection typically runs between $85 and $150 depending on the door and what we find. If we spot something that needs replacement, we quote the price before we touch anything, and you decide. Estimates are free, and we honor the price we give on the phone, no changes at the driveway.
Yes, for all the tasks in this checklist except anything involving springs, cables, or track removal. Lubrication, visual inspection, the manual lift test, and seal checks are all safe for a homeowner to perform. The moment you’re tempted to touch a spring or re-tension a cable, stop. Those components carry forces that can cause serious injury.
You’re either using the wrong lubricant or the part is beyond the point where lubrication helps. Penetrating oils like WD-40 clean and then evaporate, leaving the metal dry again. If you’ve used silicone or lithium spray and the squeak persists, the roller bearings or hinge pins are likely worn to the point of replacement. That’s a quick diagnosis we can make over the phone.
Yes, more than most people expect. The combination of salt in the air and consistent high humidity from the marine layer creates a microclimate inside your garage that corrodes bare metal hardware faster than inland locations. Springs, cables, and roller bearings are the most affected. Regular lubrication is the countermeasure, and coastal homes need it on an accelerated schedule.
Standard torsion springs are rated for somewhere around 10,000 cycles, which translates to roughly 7 to 10 years for the average homeowner. Coastal conditions can shorten that slightly due to rust and corrosion weakening the metal. If your springs are past the 7-year mark, it’s worth having them inspected. We count spring cycles the way you count tire miles, and Otto will tell you what’s left on yours.
The Bottom Line
A garage door maintenance schedule for Long Beach has to work around salt, wind, and a winter that lulls you into forgetting the door exists. The fixes are simple: lubricate more often near the coast, test the spring with the manual lift method, check the auto-reverse, and look at your weatherstripping with the door closed and the light off. Most of this takes ten minutes a month, and it buys you years before the big repair. When the big repair does arrive, call Otto at (562) 373-6685 for a free estimate. The name on the van is the same name on the invoice, the license, and the phone. We’ve been in Long Beach since 2004, and we answer the phone at nine at night when a spring lets go and your car is sealed inside.
Written by Otto Reinhardt, Owner at Otto’s Garage Door, serving Long Beach since 2004.